The BarnManager Q&A With: Caroline McLeese, rider and assistant trainer at Double H Farm

The BarnManager Q&A With:

Caroline McLeese, rider and assistant trainer at Double H Farm, located in Ridgefield, CT and Wellington, FL

What are three things that are always in your ring bag?

Caroline: An assortment of spurs, a towel, and mints.

What is the most helpful habit that you practice at the barn?

Caroline: I like to do a lap around the barn at the end of the day once everyone leaves just to be sure the horses are settled in, all the small details are taken care of, and everything is ready for the following day. 

How do you foster a great team environment in your business?

Caroline: At Double H, everyone – grooms, managers, and myself – takes a team approach to caring for the horses. Even though my main role is to help ride and train, I still help clean stalls, turn out, and take horses to the ring for other riders. I really enjoy helping in the barn whenever I have time, and I find it helps me form better relationships with the horses and my coworkers.

What’s your best tip or hack for grooming and horse care? Where did you learn it?

Caroline: My favorite hack for clipping is to wash the horse’s legs thoroughly and then clip them while they are still wet. The clipper blades don’t heat up this way and it keeps the horses much more comfortable! This is especially helpful for horses that move around while you’re trying to clip their legs. I learned this trick from Margo Thomas, Laura Kraut’s groom.

What is your favorite equestrian competition and why?

Caroline: Spruce Meadows! It’s an incredible venue and truly amazing to watch such a high concentration of five-star horses and riders for weeks at a time. I’ve missed going the past few years, and I’m really looking forward to returning next summer.

If you were a horse, what would you be and why?

Caroline: I think I would be a 1.45m speed horse who is quiet when not showing. I really like to go fast but it’s not something most people would guess about me!

Photo by Four Oaks Creative

Have questions about utilizing BarnManager or want to give it a try for yourself? Request a live demo here!

BarnManager is designed to be a part of your team, with the compatibility and credentials necessary to improve communication, simplify the management of horses, and get you out of the office, off the phone calls, and into the barn with the horses you care about! Click here to get a free demo and find out more!

Eight Things You Should Know About Jumps at Your Barn

Eight Things You Should Know About Jumps at Your Barn

We spoke with Pierre Jolicoeur, a former FEI-level course designer, three-time Olympic show jumping trainer, and founder of PJ Saddles and PJ Jumps to learn more about what types of jumps to have and what you need to make sure your barn is outfitted with correct, safe equipment for jumping.


  1. The type of jumps you need depends on the level of horses and riders using them as well as the type of riding they are doing. But no matter the discipline, the number one priority is safety. Find correct, well-made jumps, use breakaway cups, set courses properly, and you will be on your way to having fun and improving in the sport.


  1. Plan to have enough jump material for 10 jumps, including five oxers and five verticals. This doesn’t include any extra gymnastics you might want to set. That amount of jump material should give you enough to set a nice course of eight jumps and have reserves for when poles or standards break or need to be replaced, or when you want to build a double or triple combination.


  1. The length of poles needed is in direct proportion to the size of your riding ring. If you’re in an indoor ring or a smaller outdoor, ten-foot poles can be used. In a larger outdoor arena, 12-foot poles work nicely. If you’re lucky enough to have an expansive grass ring, you can try 14-foot poles but know that longer in length means heavier in weight!


  1. When setting a training course at home, design it first on paper and measure it to scale. For example, use graph paper where each square is set to a distance (i.e., one square equals one foot). Once you have measured your course out on paper, it will be easier to drop poles where the jumps should be in the ring, and you will know exactly where to put them. It is also a good idea to change your course at least once a week to keep challenging yourself and your horse, and so the footing does not get worn in the jump areas.


  1. Every training course set at home should be jumpable in both directions. This gives a lot of different options for training both horses and riders. You’ll need four poles per jump, whether it’s an oxer with two poles on each set of standards, or a vertical with two poles on the standards and a ground rail on each side.


  1. Pierre’s number one saying? “Horses hate surprises.” Make sure before you go to a competition that you have trained everything at home. Use your jump materials to simulate what you might encounter at upcoming shows. “Don’t do training at horse shows,” he says. “Know the facility you’re attending, the conditions, the course designer, the hunter judge; all of that gets you organized to win.”


  1. Make an investment in professionally-made jumps. “If you are spending money to buy and train a horse and compete at shows, you can’t be cheap on your training facility,” says Pierre. Jumps have too many details, and safety is too important, to make your own. Buy jump materials from people who know how to make them safely. If you’re on a budget, start with enough for six jumps, then buy six more the following year, for example. Soon enough, you will have a nice set of jumps that are high quality and will last longer.


  1. Speaking of lasting, Pierre shared a few tips for maintaining your jumps. Design your course so very few of the components touch the ground. Obviously, the bottoms of standards will be in the sand or on the grass; he recommends aluminum wings because they last forever and are much lighter than their wood counterparts, so they are also easier to move. When you are finished riding a course at the end of each day, go around to each jump and put the poles back in cups. Don’t leave them on the ground. “A couple of days on the damp ground, and you’ll need a new paint job!” he adds. If you’re going away for a significant amount of time, store them inside. Since jumps can be expensive and are a considerable investment, it pays to take care of them and save money in the long run.


With planning, consideration, and care, you can set a beautiful jumping course in order to have useful training at home and be prepared for success in the show ring!


Have questions about utilizing BarnManager or want to give it a try for yourself? Request a live demo here!

BarnManager is designed to be a part of your team, with the compatibility and credentials necessary to improve communication, simplify the management of horses, and get you out of the office, off the phone calls, and into the barn with the horses you care about! Click here to get a free demo and find out more!

Five Alternative Fitness Ideas for Riders

5 Alternative Fitness Routines for Riders

Five Alternative Fitness Ideas for Riders

Anyone who has ridden a sport horse can make the powerful argument that what we do is, in fact, a sport. We laugh off those who say the horse does all the work because we truly know what a full-body workout it can be and the strength and conditioning required to execute the sport successfully.

But even the fittest of riders need to complement their riding with other forms of exercise. Football players do yoga to keep them balanced and focused. Why shouldn’t riders work on outside exercises that aid them in their riding? Many riders already know their preferred workout method, but if you’re not sure where to start, here are some ideas to expand your fitness routine outside of the saddle.

1. Pilates

Known for targeting specific muscles and utilizing smaller movements in order to strengthen the whole body, Pilates can be a great workout option for riders looking to gain strength all over. Small, repetitive movements can help solidify muscle memory and help stabilize your muscles to be a stronger and steadier rider. Many Pilates studios are offering online classes. You can also find outdoor pop-up classes near you that foster social distancing and follow COVID-19 safety protocols.

2. HIIT

Any hunter/jumper rider knows the feeling of exiting the show ring completely winded, after a very intense, but short, two-minute workout. It’s hard to build endurance for those high-intensity moments since we can’t really replicate them outside of a show environment. That’s where High Intensity Interval Training can be your best friend (or worst enemy, depending on your workout style). Many gyms and trainers are offering virtual HIIT classes that help athletes get their heart rate up, recover, and repeat. These exercises feel like a ton of work. But they will increase your fitness level to a point where those jumping rounds will feel like light work.

3. Yoga

Though the exercises in yoga don’t translate directly to what you do when riding, the benefits of yoga are evident in many aspects of the sport. Riding is a mental sport, and being strong mentally is often equally as important as being strong physically. Yoga helps to center your focus, relax your body, and prepare you to take on challenges that lie ahead. It also focuses on strength and stretching, leaving you more nimble and easing any pain or tension that may keep you from performing your best. Yoga can improve your balance as a rider, as well, keeping you centered during tough situations. Horses also benefit from balanced riders, helping to resolve any imbalances the horses may have themselves.

4. Cycling

We all know the value of a strong leg and solid core for helping your horse effectively use its hind end and jump clear rounds. Cycling is an excellent exercise to help strengthen your leg muscles and engage your core at the same time. Because it’s such a high-intensity workout, cycling is a great way to get your cardio in. This will also help to increase your endurance in the saddle. Though cycling studios are mostly closed due to COVID-19, there are many ways to get stationary bikes set up in your own home, or you can buy a street bike that you can ride (safely, of course) through the hills of your city or town. Pro tip: after an intense cycling session, practice stretching deeply down through your heels with your feet in the “stirrups.” This will loosen your calf muscles and help you keep your heels stretched down next time you sit in the (real) saddle.

5. A personal fitness trainer

Doing the same workout every day or not knowing what workouts are best for your goals are common issues for athletes working without supervision. Personal fitness trainers are now more accessible than ever, so if you have specific goals that you’re not sure how to achieve, look into working with an expert. It doesn’t have to be a long-term commitment; many trainers will teach you work-out circuits to implement on your own, after learning how to do them properly and safely. Though personal trainers are on the more expensive end of workout options, their expertise can be priceless. So if overall fitness is an ultimate goal of yours, do some research about personal fitness trainers that have experience in training equestrian athletes.


Have questions about utilizing BarnManager or want to give it a try for yourself? Request a live demo here!

BarnManager is designed to be a part of your team, with the compatibility and credentials necessary to improve communication, simplify the management of horses, and get you out of the office, off the phone calls, and into the barn with the horses you care about! Click here to get a free demo and find out more!

Five Ways Digital Records Could Help Your Horse’s Performance

Whether you are a leaser or a leesee, the buyer or the seller, you want your next horse transaction to be a positive experience for all involved, including the horse.

What To Include In Your Horse’s First Aid Kit

If you’ve owned horses for any length of time, you’re likely well aware that accidents and injuries can happen all too often, so it’s important to be prepared!

If you own or operate your own barn, that includes having a thoroughly well-stocked equine first aid kit on hand. If you board your horse, it likely means having many of those same first-aid items in your tack trunk and ensuring that the barn has the others on hand. But what are those first-aid items and what should be in your first-aid kit?

Thermometer – for taking your horse’s rectal temperature. (It’s important to also know what a horses’ regular temperature should be. Hint: It’s 99 – 101 degrees Fahrenheit.) It can also be helpful to have a small jar of Vaseline within your first aid kit to aid in inserting the thermometer.

– Stethoscope – for checking your horse’s heart rate and gut sounds.

– Scissors – It’s wise to have blunt-end bandage cutting scissors as well as sharper scissors.

– Tweezers – for pulling out splinters or ticks.

– Epsom Salts – for soaking abscesses.

– Bute and Banamine -Phenylbutazone and Flunixin Meglumine, better known as Bute and Banamine, are both non-steroidal anti-inflammatory pain relievers that you should have on hand. Bute acts much like aspirin does for humans and is common for pain relief and fevers. Banamine is more aggressive and is often used in treating colic pain.

– Twitch – In the case of emergency, there are a number of things that your horse may not want to willing participate in, so it’s a good idea to have a twitch on hand.

– A Variety of Leg Wraps, Bandages, and Guaze – including polo bandages, vet wrap, standing bandages, gauze bandages, roll cotton, leg wraps, and non-stick gauze.

– Diapers – diapers may not be the first thing that come to mind for a first aid kit, but they’re great for covering a bandaged foot and also provide extra padding for large wounds.

– Duct Tape – you’ll need this to secure bandages or the aforementioned diapers.

– Latex Surgical Gloves – wear these to help prevent wound contamination.

– Disinfectants and Wound-Flushing Liquids – including rubbing alcohol, saline, gentle iodine such as Betadine, pre-moistened alcohol swabs, and hydrogen peroxide.

– Wound Powder  or Spray-On Treatment – when a wound needs to be left open to heal a powder or spray can encourage healing, keep flies off the injury site, and dry up the wound. (Note that after cleaning up a wound, it’s wise to seek veterinary advice before applying a wound powder or spray to ensure that the injury doesn’t need any further care or treatment.)

– Flashlight – with working batteries!

BarnManager is designed to be a part of your team, with the compatibility and credentials necessary to improve communication, simplify the management of horses, and get you out of the office, off the phone calls, and into the barn with the horses you care about! Click here to get a free demo and find out more!

Horse Show Packing List

While your specific horse show packing list will vary depending on your discipline, the type of competition, and the classes that you’re entering, there are a number of things that are universal: like grooming brushes and the possibility of forgetting something!

That’s why we’ve put together our comprehensive horse show packing list. Download the packing list as a printable PDF here, or use the list tool within BarnManager to customize your own horse show packing list, available at your fingertips and shareable with others on your team! (Learn how with a free BarnManger live demo here.)

For the Horse Show Office
*Tip!: Store all of your horses’ health records and show paperwork directly within the BarnManager app so you never have to worry about leaving them behind. 

– Proof of negative coggins
– Horse health certificate
– Registration papers
– Membership papers

For the Feed Stall

– Hay
– Hay nets
– Grain
– Supplements

For the Rider

– Boots
– Belt
– Helmet
– Gloves
– Spurs
– Rain gear
– Show shirt
– Show jacket
– Small mirror
– First aid kit
– Sunscreen
– Lint roller
– Small sewing kit
– Snacks
– Boot polish or boot cleaning kit
– Safety vest, if needed
– Breeches (a spare pair or two is always a good idea!)
– Hair accessories (Hair net, spare hair ties, bobby pins)

For the Grooming Box

– Body brushes
– Curry comb
– Hoof pick
– Mane and tail brush
– Mane comb
– Detangler
– Waterless shampoo/spot remover
– Hoof dressing or polish
– Baby powder or corn starch
– Fly spray
– Scissors
– Baby wipes
– Clippers
– Spray-on conditioner or shine enhancer
– Seam ripper for removing braids
– Lots of towels

For the Wash Rack

– Shampoo
– Sweat scraper
– Sponges or scrubbers
– Towels
– Bucket designated for washing
– Liniment

For the Stalls

– Bedding
– Duct tape
– Pliers
– Zip ties
– Safety release clip
– Double-ended snaps
– Water buckets
– Feed bucket(s)
– Hammer
– Staple gun
– Screwdriver
– Bailing twine
– Cross ties
– Tack hooks
– Saddle racks
– Pitchfork
– Hose
– Broom
– Rake
– Wheelbarrow
– Extension cords
– Locks
– Spare batteries
– Fans
– Step stool
– Dry erase board and markers
– Trash bags

For the Horse
– Saddle
– Girth
– Schooling saddle pads
– Show saddle pads
– Bridle(s)
– Schooling boots
– Ear plugs
– Ear bonnets
– Cooler
– Scrim sheet
– Blankets, as needed
– Halter
– Polo wraps
– Lunge line and lunge whip
– Martingale
– Studs and stud removal kit
– Ice boots
– Tack soap and sponge
– Poultice and poultice paper
– Safety pins for attaching numbers to saddle pads

Happy horse showing!

BarnManager is designed to be a part of your team, with the compatibility and credentials necessary to improve communication, simplify the management of horses, and get you out of the office, off the phone calls, and into the barn with the horses you care about! Click here to get a free demo and find out more!

Six Ways to Make Horse Showing More Affordable

Horse show entry and office fees, transportation and travel expenses, tack and equipment costs, training fees, and grooming and braiding charges can be enough to make many an adult amateur – no matter the discipline – contemplate a second job or a steady diet of ramen noodles to offset expenses.

Fortunately, while the entirely inexpensive horse show may remain elusive, there are ways to greatly reduce your expenses and make horse showing more affordable.

Here are six tips that could help you decrease your costs this show season!

1) Identify your goals.

 Before heading to a horse show, think realistically about you and your horse’s level of competitiveness and what you hope to accomplish throughout the show season.

If your aim is to use horse shows simply as a way to test all that you have been practicing at home, to enjoy the competition with your horse, or to gain experience or exposure, unrecognized or schooling horse shows could be a great cost saver. These shows generally have much less expensive entry and office fees, paid memberships to governing organizations such as US Equestrian or the U.S. Hunter Jumper Association (USHJA) are typically not required, and US Equestrian fees are not imposed.

If your aim is to earn rated points, awards, or titles or to qualify for prestigious year-end finals and championships, you can still be smart and save money when it comes to selecting which horse shows you attend. Consider your travel expenses and what is realistic for you. While that beautiful horse show in Kentucky might look fun, perhaps the one of equal rating and just an hour drive from your home in Pennsylvania could be far more affordable for you and offer you the same opportunity to accrue points.

By identifying your goals in advance and selecting horse shows that fit those goals, you could save a great deal of money!

2) Submit your entries on time – or even well in advance.

Many horse shows penalize riders with an added fee for entering a horse show beyond a set entry date, while some others even offer reduced rates for early entries. Submitting your entries on time or in advance is a simple way to save money.

3) Be well organized and prepared for horse show day.

No one wants to have to purchase new gloves or spurs at a horse show when they know that they have perfectly good ones sitting at home, and having to purchase any tack or equipment at the horse show can be a good way to quickly exceed your budget! Instead, get organized and ensure that nothing is forgotten.

Make a thorough packing check list (fun fact: you can do this within BarnManager!). Be sure to include any items that you might need at a horse show that you might not typically use at home like ear plugs, Show Sheen or other show grooming products, rain gear just in case, and yarn or rubber bands.

Review your packing list a few days in advance of the show to make sure that you have everything that you need and that everything is in good repair. You don’t want to be left scrambling to get to the tack shop the night before the show!

As you’re packing and getting organized, it’s also wise to clearly label all of your belongings. That way, nothing gets inadvertently put in someone else’s tack trunk at the show or left behind at the ring with no identifier.

4) BYOS – Bring Your Own Stuff.

Much like it’s cheaper to ensure that you have all of your tack and equipment with you rather than purchasing anything new at the show, it’s also cheaper to “bring your own stuff.” That could include packing your own shavings to avoid paying more for them at the horse shows and bringing your own snacks and lunches to avoid paying expensive food vendors. If you’re going with a group from your barn, consider working together to organize who can bring food items to share.

5) Learn to groom and band or braid for yourself – or have friends and family help.

Whether your show requires that your horse’s mane be banded, braided in hunter style, or put into button braids, learning to do it yourself can save a ton of money – especially if you are horse showing frequently!

You can find numerous great tutorials on YouTube and on equestrian websites to help get you started on learning to braid or band before getting into the barn to practice. If you get good enough at mane or tail braiding, and if time at horse shows allows, you could even braid or band for others at the show to help you recoup your horse show costs.

Similarly, if you are able to groom, tack up, and care for your horse and your stall area yourself at the show – while still having the energy and focus needed to ride well – doing so is a great way to cut costs.

If you are fortunate enough to have friends, family members, or a significant other willing to help you out, don’t be afraid to take them up on the offer! Having an extra hand to hold your horse or an extra body to run back to the stalls for that forgotten item can go a long way and can help eliminate grooming costs.

6) Take good care of your belongings.

At the end of the horse show, again consult your packing list, this time to ensure that nothing gets left behind. It’s easy to head home from the horse show with a crop, glove, or girth missing from your tack trunk; ensuring that you have everything is an easy way to avoid having to purchase the item again.

While cleaning and organizing may be the last thing that you want to do when you get home from a horse show, it’s important to take good care of your belongings to prolong their lifespan and avoid having to spend money on new tack or clothing. Try to hang up your show clothes as soon as possible instead of leaving them crumpled in a bag or in the back of your car. (If you take good enough care of your show coat, you may even be able to avoid a dry-cleaning bill until after the next show!) Clean all of your tack and equipment as soon as possible after the show, and re-organize your belongings to keep everything ready to go for next time!

What are your horse show cost-reducing tricks!? We want to hear from you in the comments below!

BarnManager is designed to be a part of your team, with the compatibility and credentials necessary to improve communication, simplify the management of horses, and get you out of the office, off the phone calls, and into the barn with the horses you care about! Click here to get a free demo and find out more!

Five Fundamentals of Equitation from Stacia Klein Madden and the Iron Bridge Hounds Pony Club

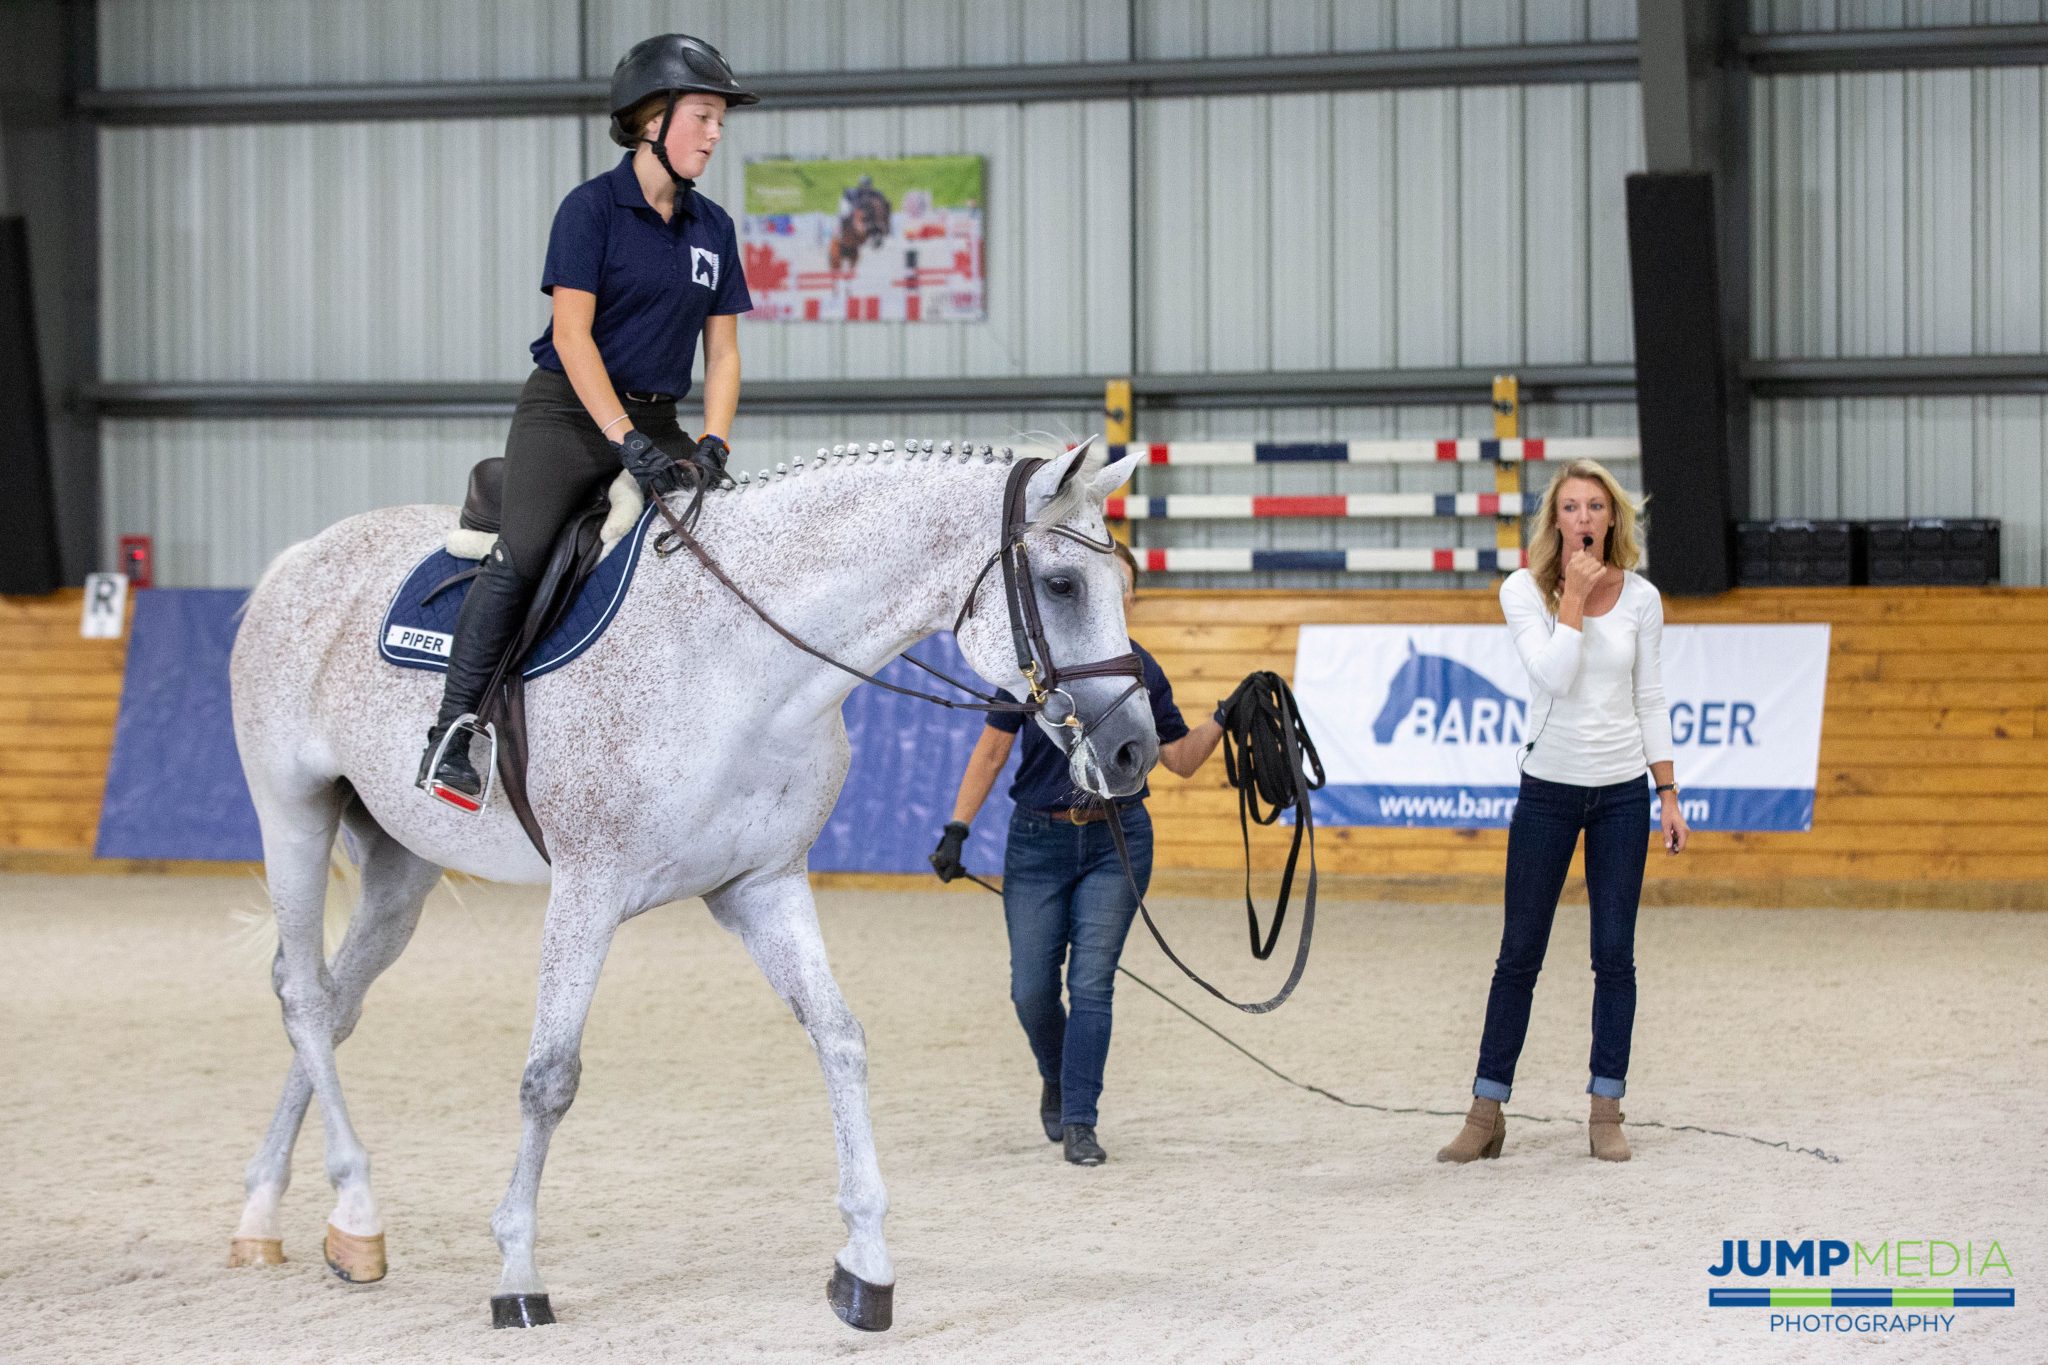
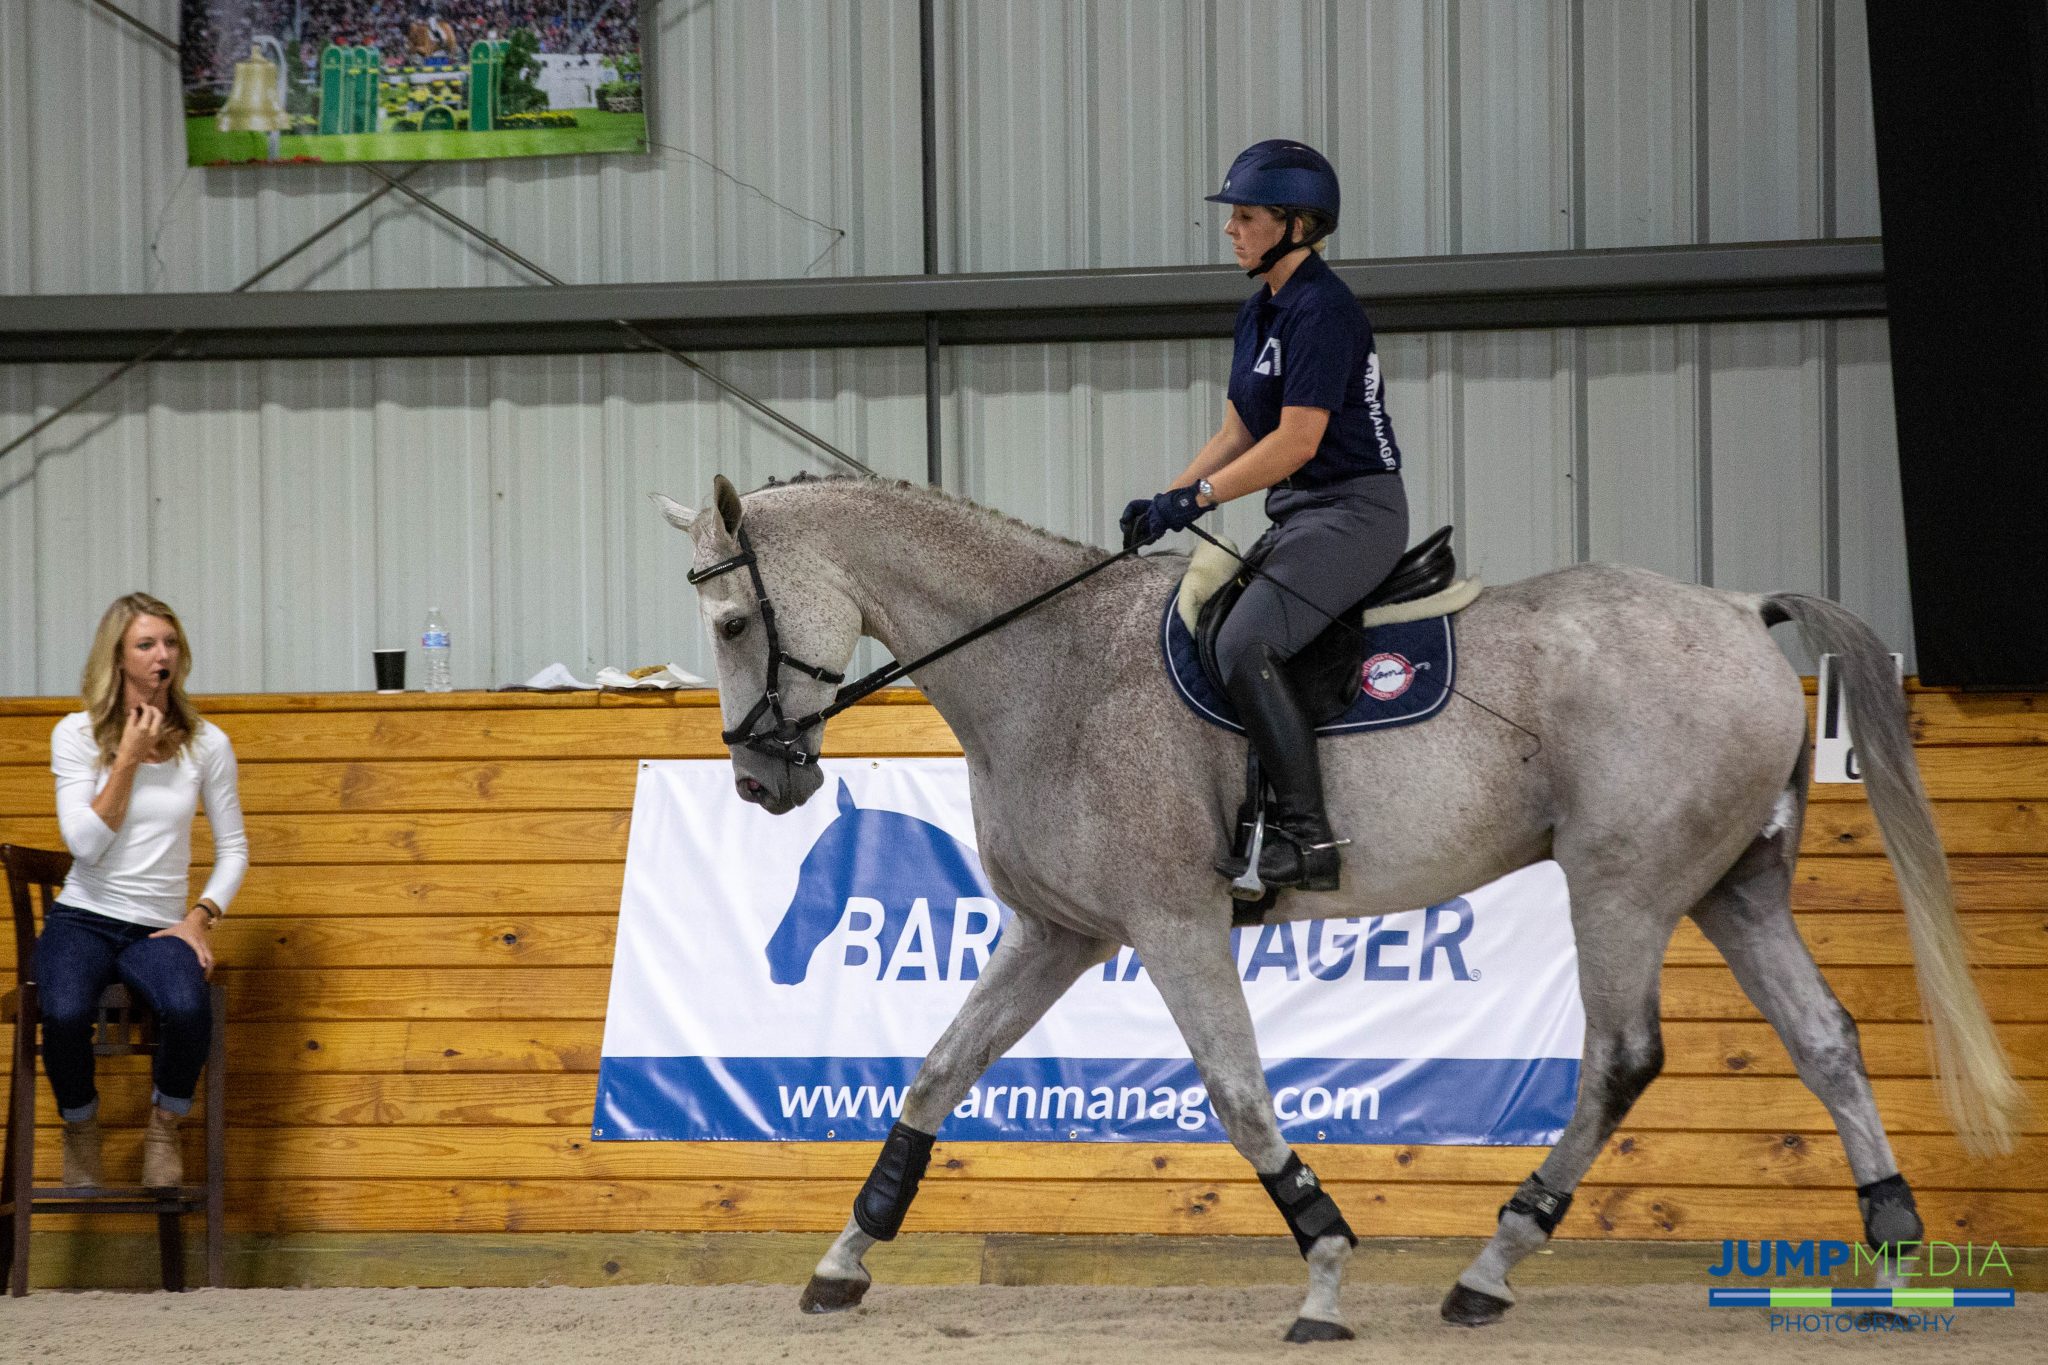
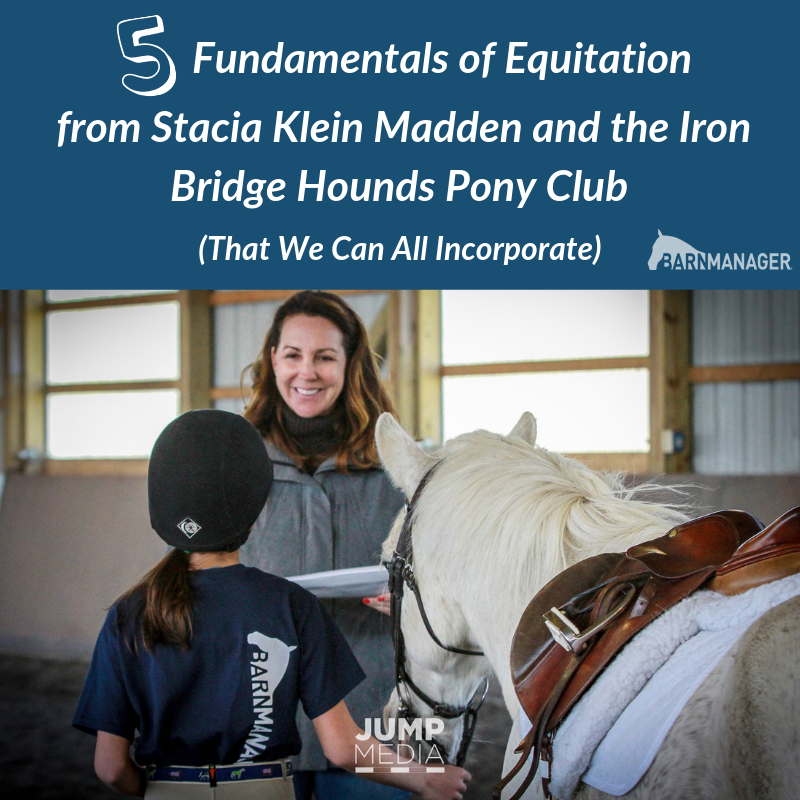
Stacia Klein Madden can typically be found ringside during major equitation classes at top horse shows across the country or at home at Beacon Hill Show Stables training some of the country’s most competitive junior and amateur hunter, jumper, and equitation riders.

Two weeks ago, however, our BarnManager team found Madden somewhere a little bit different: in Maryland amidst 11 young U.S. Pony Club riders and their adorable, fuzzy ponies and well-schooled mounts.

The riders – ranging in age from seven to 16 and in skill level from walk-trot to those competent at jumping three feet – generally focus on dressage, eventing, and beginning show jumping in their lessons, but Madden’s presence meant something different for them as well: a special clinic with a focus on the “Fundamentals of Equitation.”

The clinic was awarded to the riders as the winners of the 2018 Washington International Horse Show (WIHS) Barn Night Group Video Contest, presented by BarnManager, thanks to this winning entry!

This year marked our BarnManager team’s second year in a row partnering with WIHS to put on the clinic, and for the second year in a row, we walked away having gained valuable insight! (Read about last year’s clinic with Laura Graves here.)

With Madden, the emphasis on equitation provided the participating riders – and us! – with tips and reminders that can be beneficial to riding across disciplines – and across all skill levels.

While using the full ring properly in your hunter or equitation class or halting squarely in a straight line after a fence in your lesson may not be exercises you need to work on, it never hurts to revisit the fundamentals!

In fact Madden herself said, “The basics are the same, whether you’re teaching somebody to be on a horse for the first time, or whether you’re trying to win a national championship. It’s just levels and degrees of what you’re trying to fine-tune. Having taught these levels might inspire me to go back to some very simple things with my students at home when I teach this week!”

Here are five of our favorite fundamental reminders from the clinic with Madden:

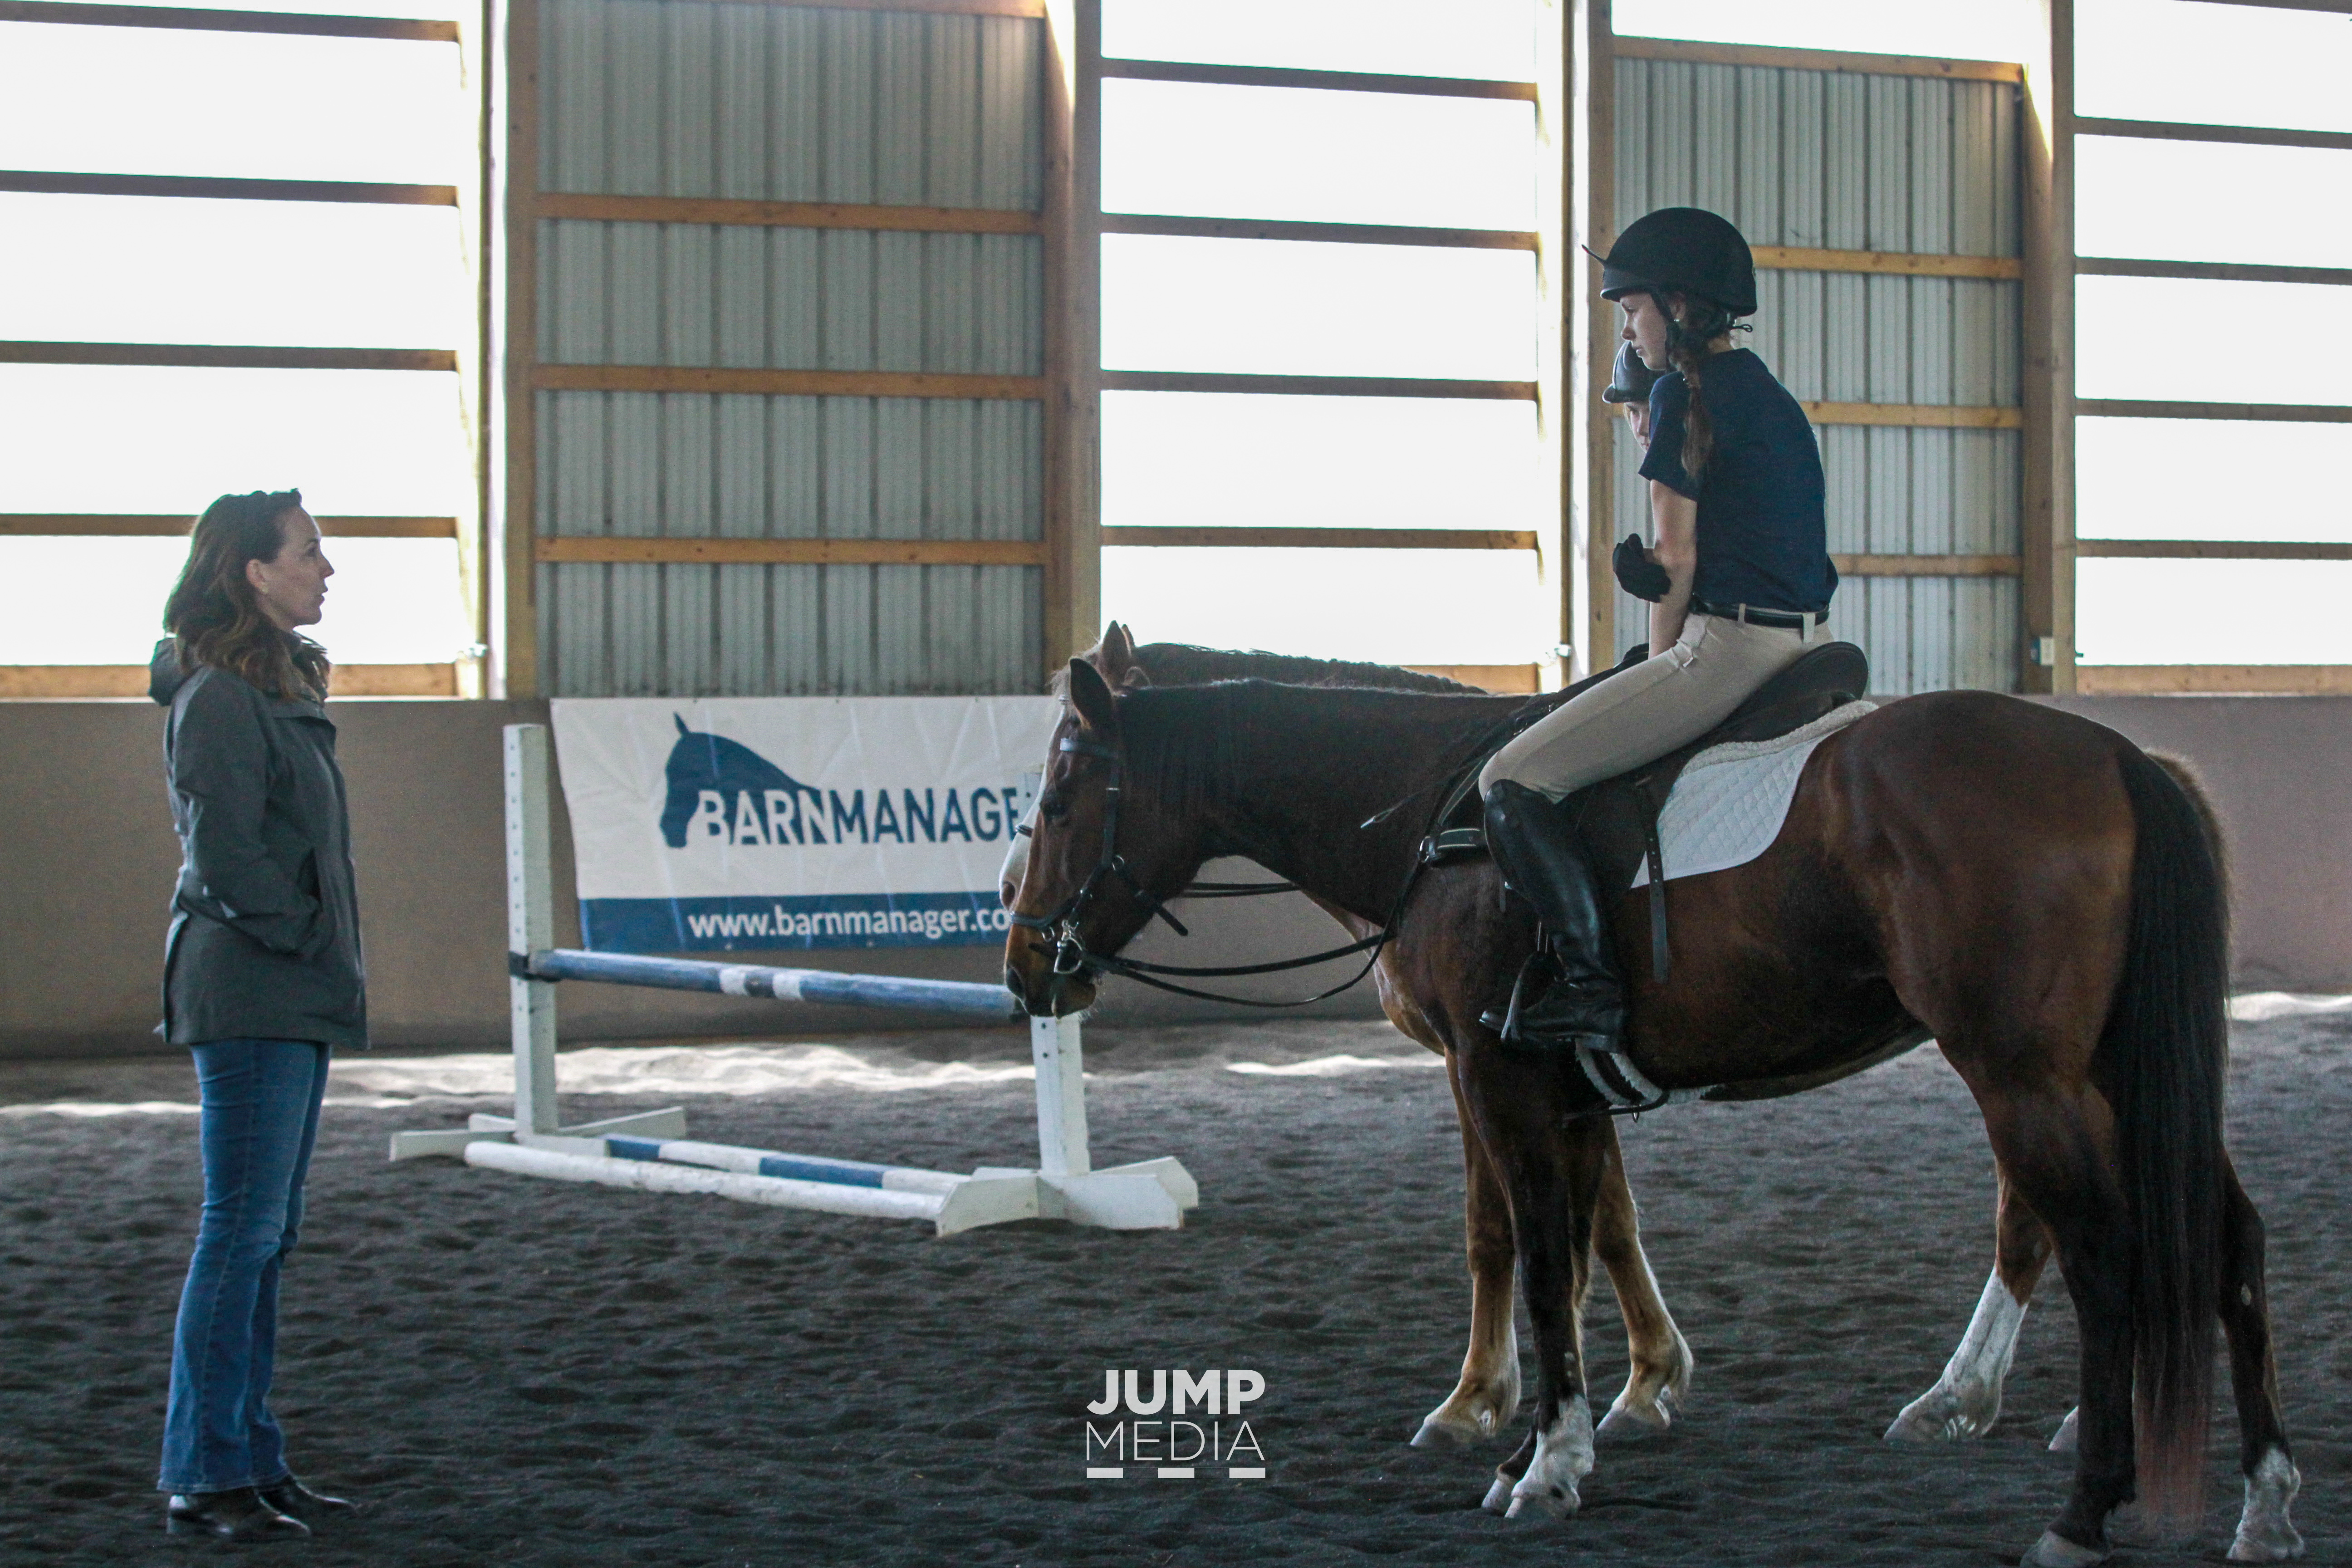
1) Always remember that you are the pilot – not the passenger!

 Ensuring that the rider had full control of the horse was an over-arching theme of Madden’s for the clinic, no matter what level the rider was.

“Air Force One is the most technologically advanced airplane in the world, but it can’t fly itself! It still needs a pilot,” Madden said. “Think of your horse as the plane, and you as the pilot. No matter what kind of horse it is, you have to fly the plane. If they want to go off the course you planned, you have to correct it.”

2) Don’t allow repeat disobediences from your horse, but tailor your correction to the crime.

As the pilot of your horse, you should expect the horse to go where you direct them to go and do what you have asked them to do. When they don’t, it’simportant to correct them properly the first time and not continue to let the disobedience go on or even build into a greater problem.

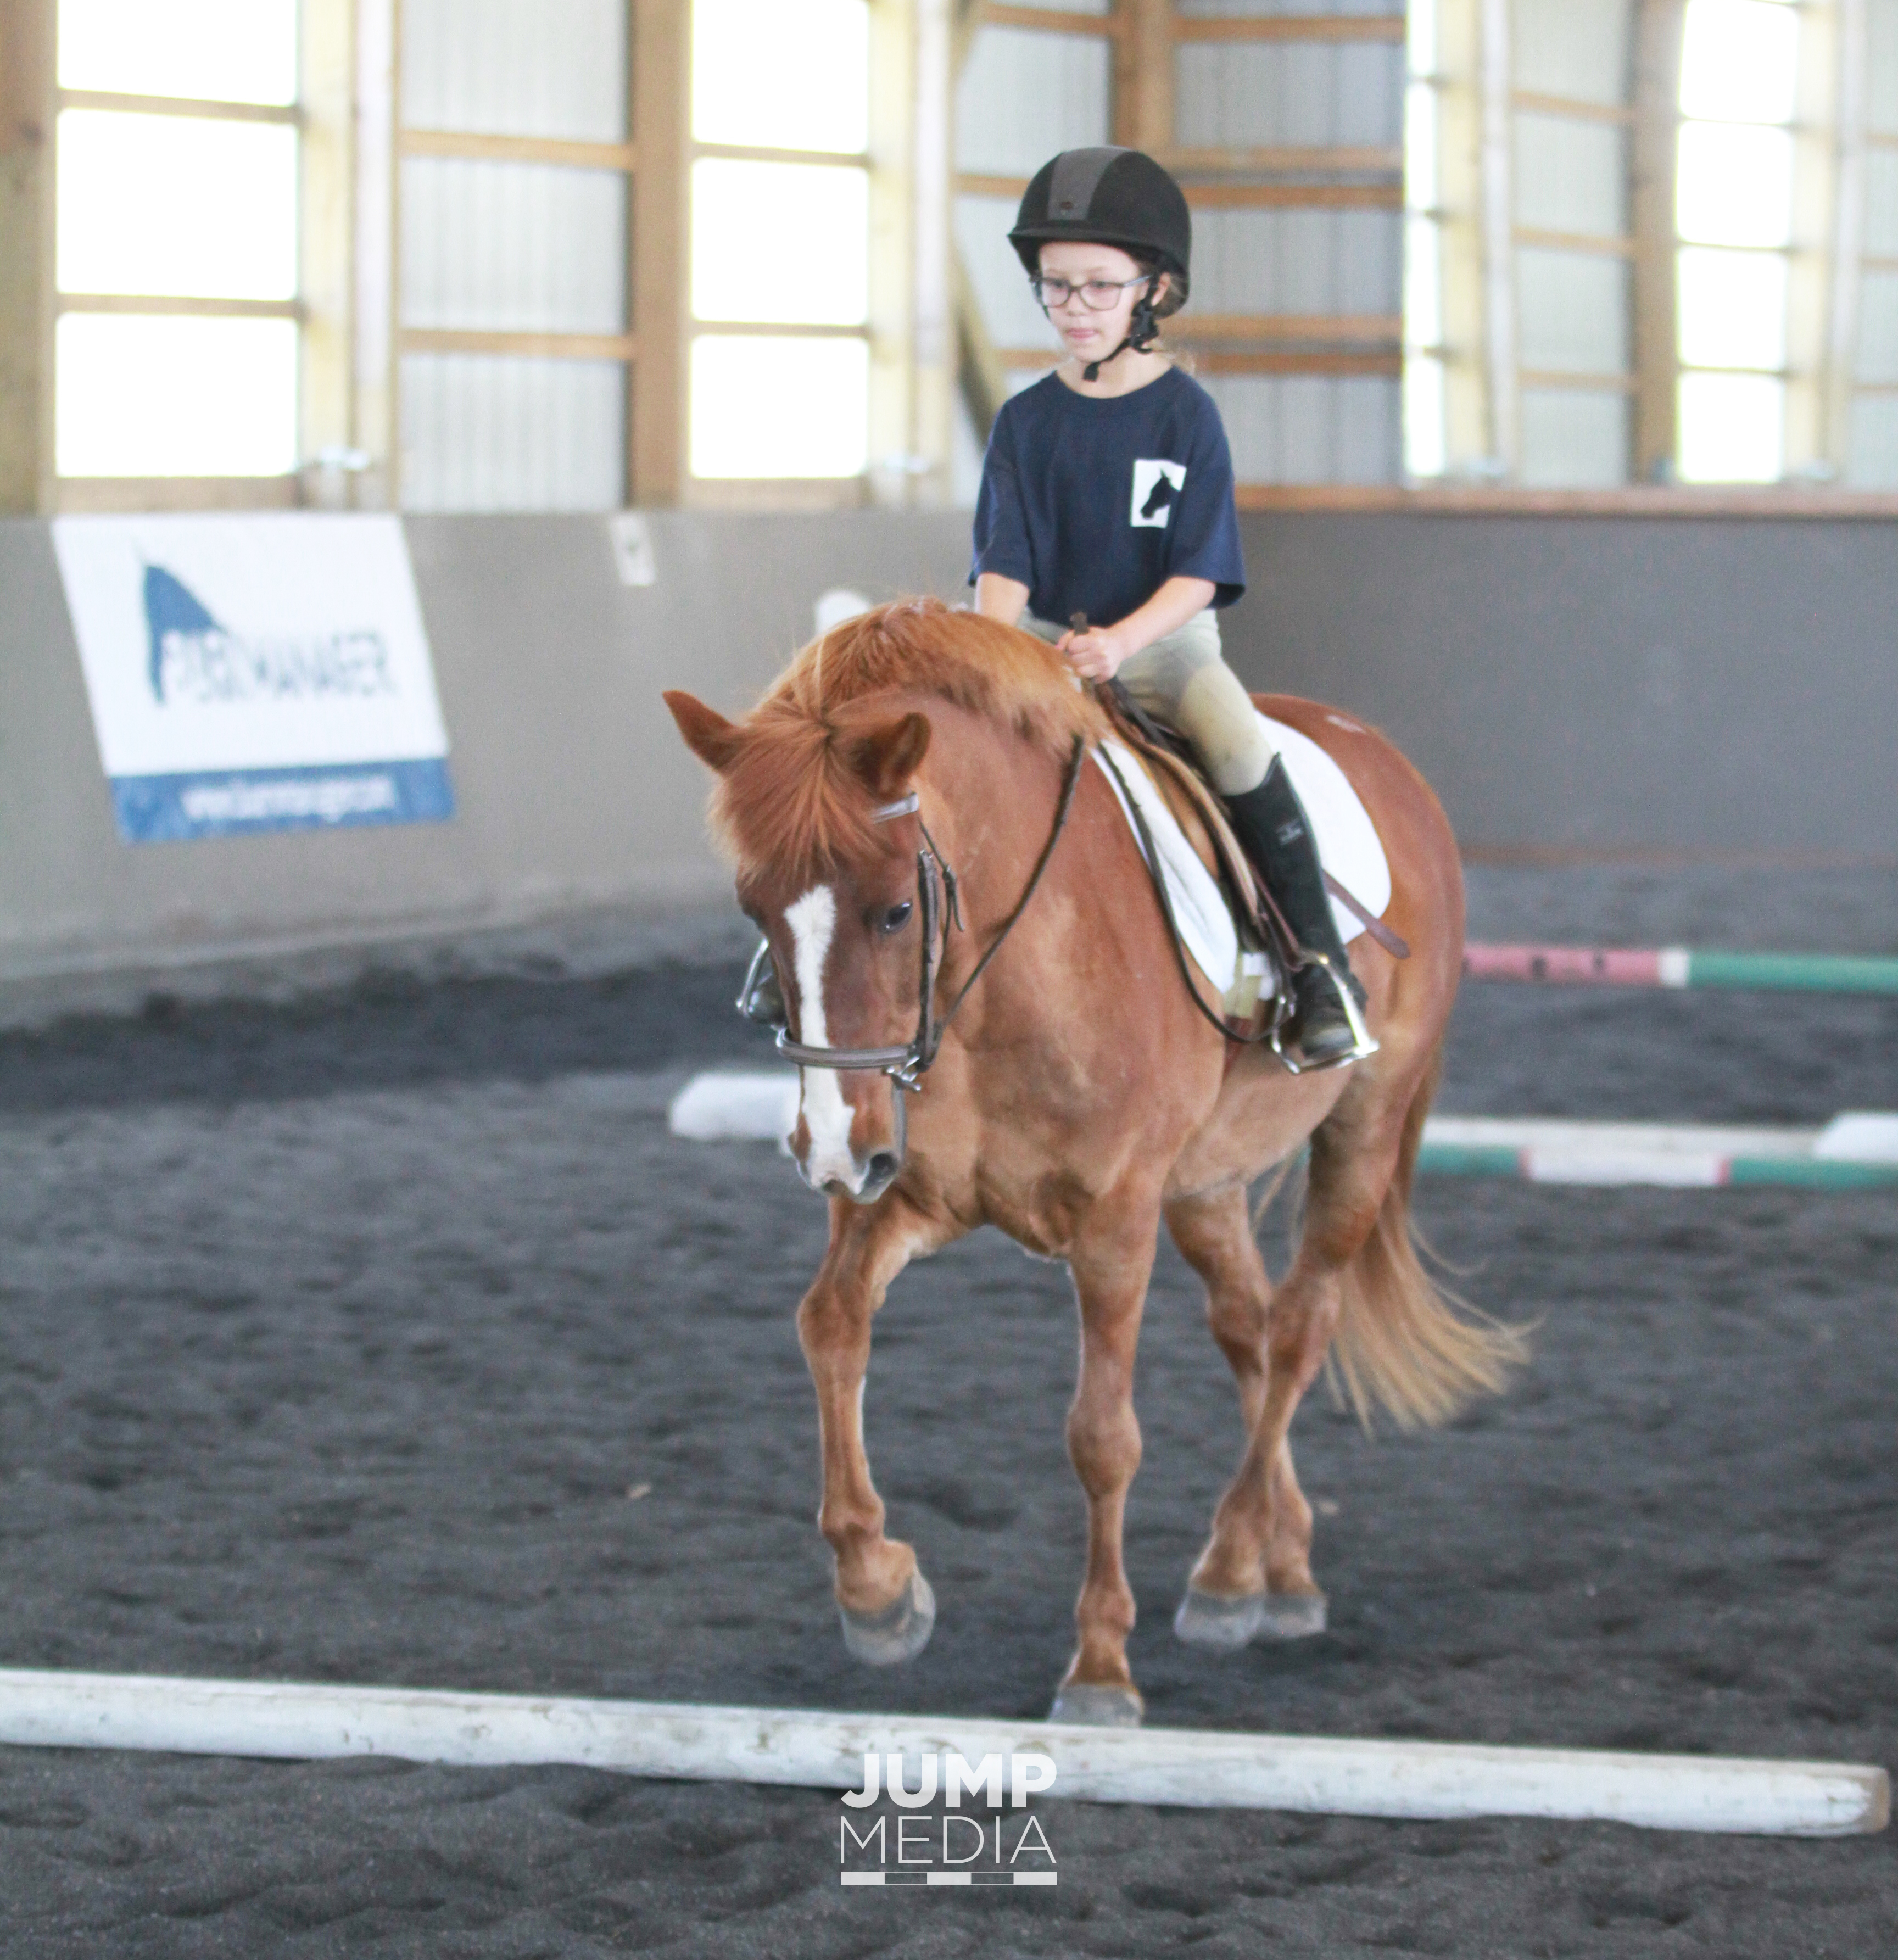
In the IBHPC clinic, Charlie Atkinson had a good ride in her session on the pony, Emmie, but the chestnut mare had a habit of rooting the reins in a quick motion, pulling Atkinson out of the tack.

Madden showed Atkinson how to quickly set her hands to prevent the rooting as well as teaching her the proper timing for the correction. “When you feel her neck tense and her head go up a bit, get ready, because that’s what she does before she roots down,” Madden advised Atkinson. By the end of the session, Atkinson had a feel for the timing and correction, and Emmie had stopped rooting at the reins both while moving and in downward transitions.

There is a difference in the type of correction a horse may need, however.

“There’s a difference between a horse that stops and a horse that ducks out, and you correct them differently,” Madden said. “A horse that stops is one who loses momentum on the approach to the jump and stops straight right in front of the jump. A horse that ducks out is one that keeps his momentum but turns away from the jump.

“When the horse stops, you need to correct the loss of momentum, so you circle right away, and use your stick behind your leg to get the horse going forward,” continued Madden. “Ducking out is a steering problem, so to correct it you need to turn the horse the opposite way that he went past the jump, then re-approach.”

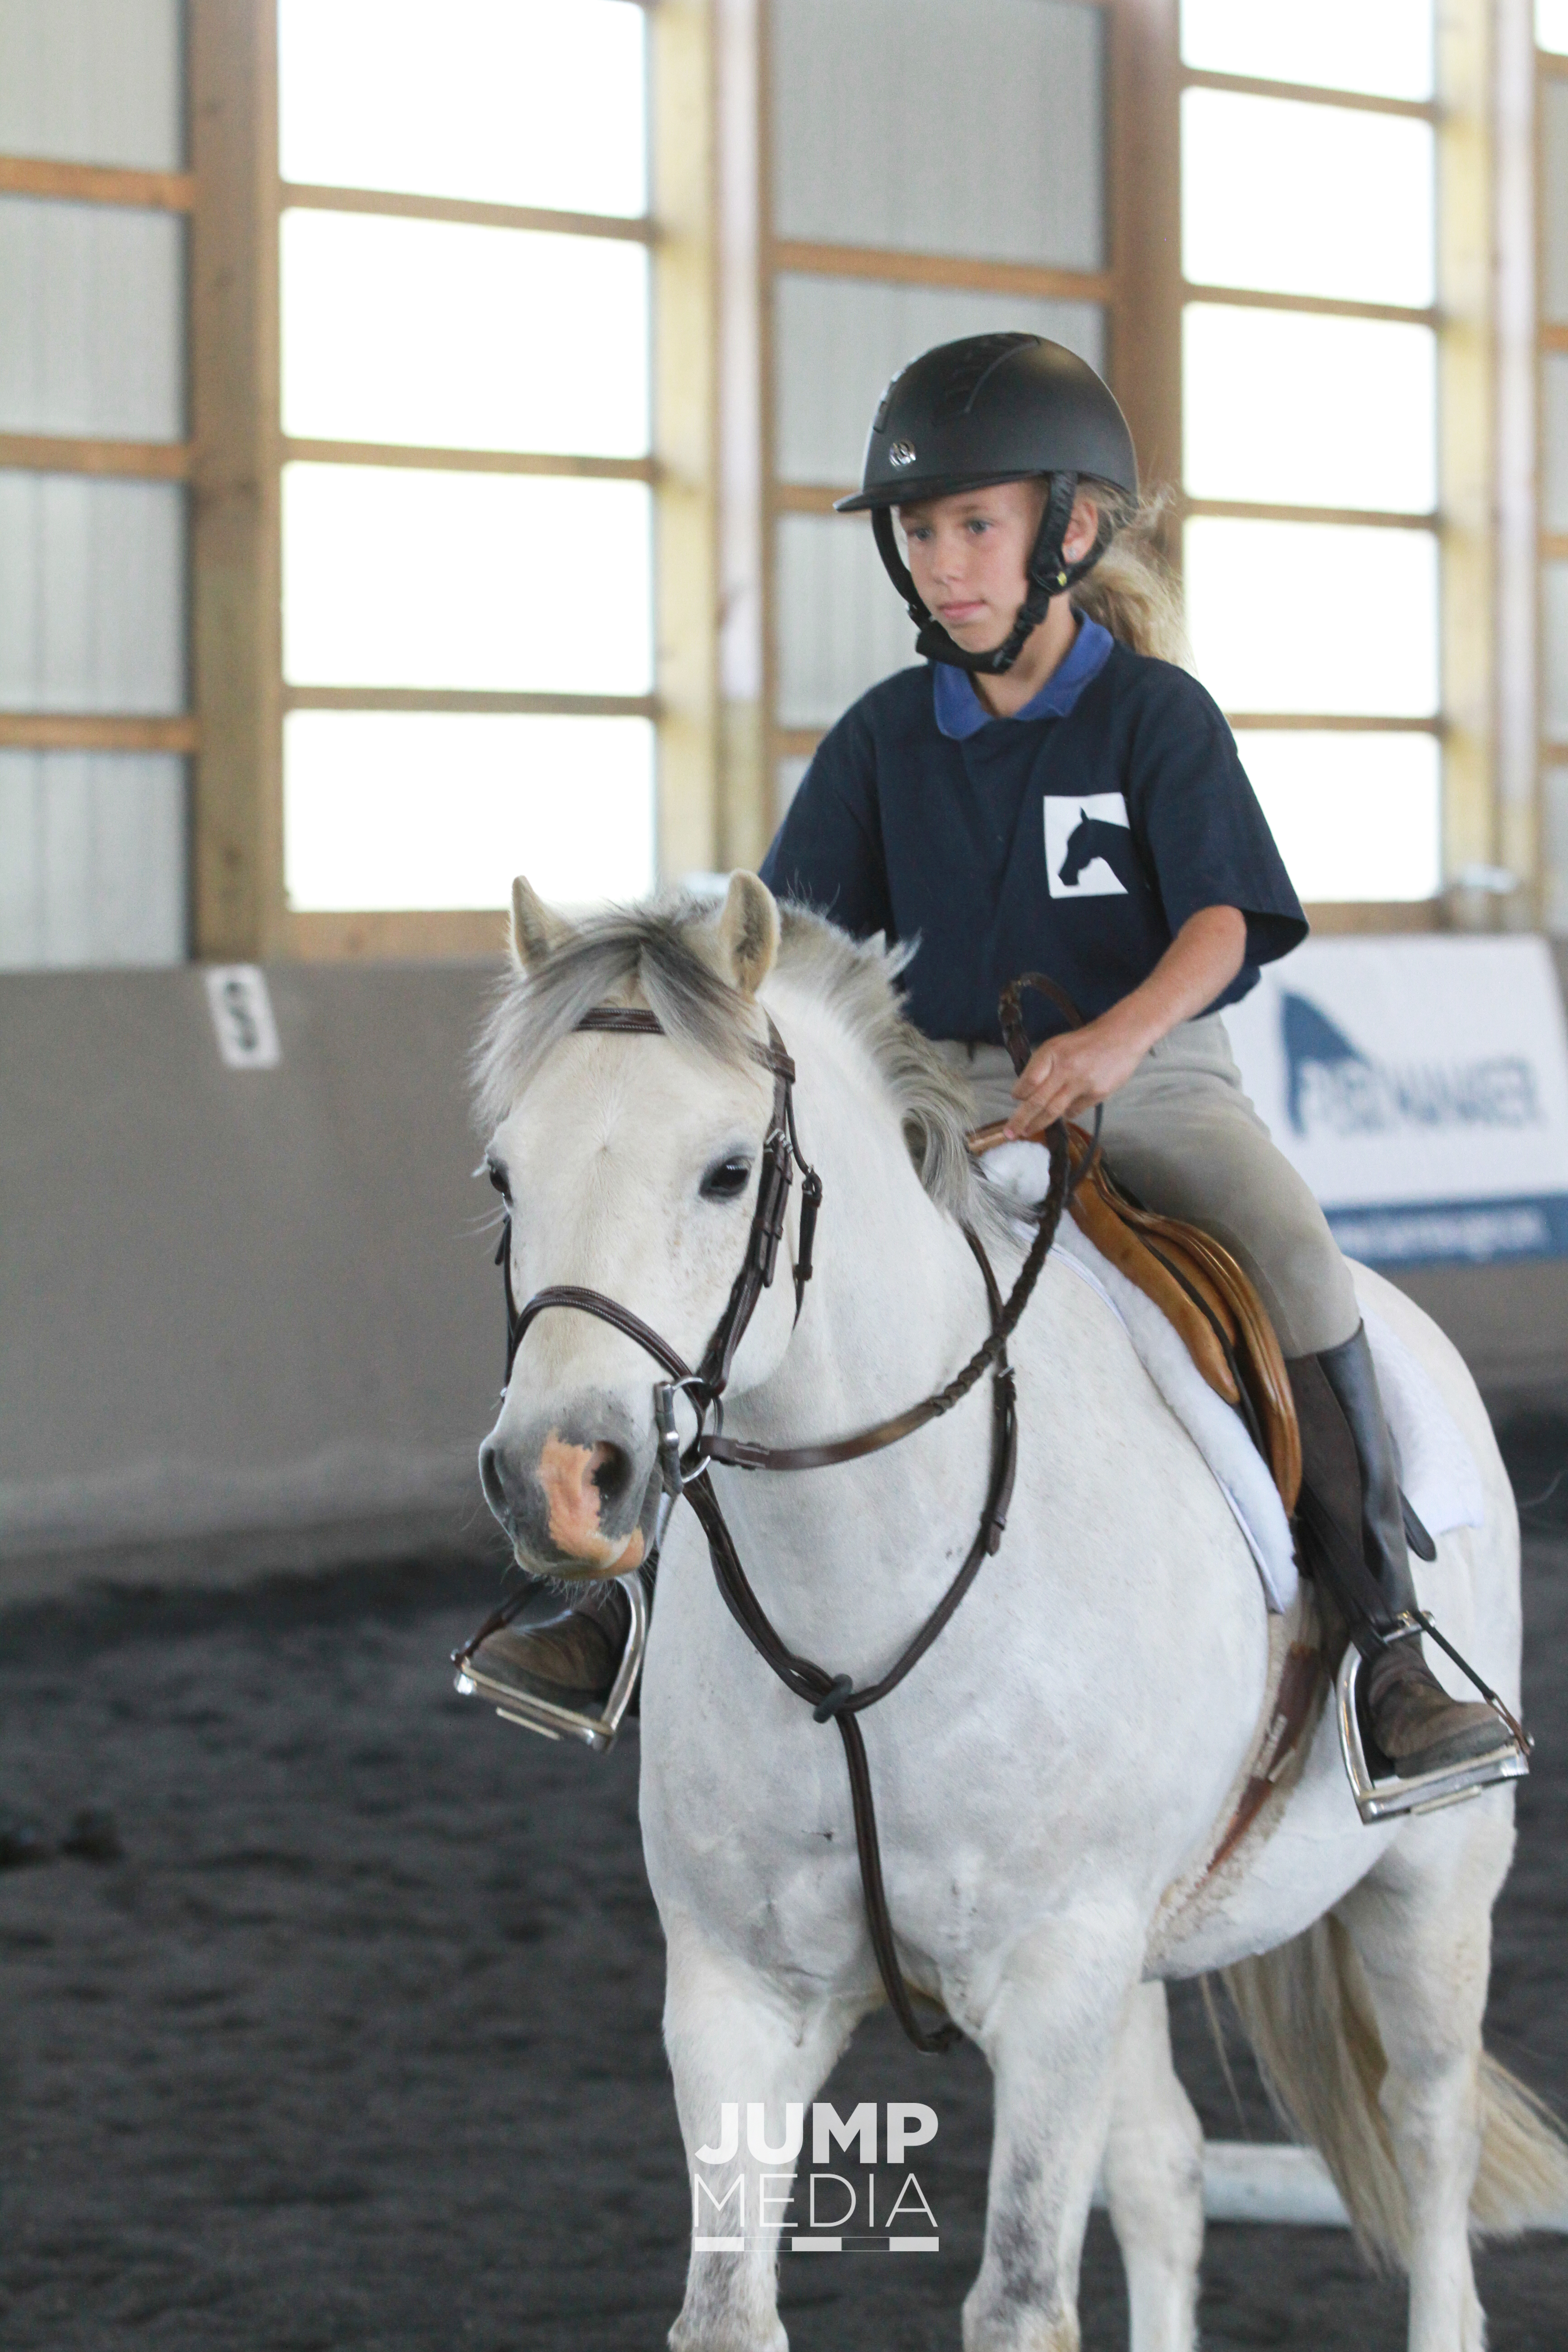
3) Utilize a three-second rule when it comes to your transitions.

Young Pony Club rider Penelope Roesler had only been riding Fleetwood Mac for a short time before the clinic after transitioning from a pony, and at the beginning of her session, Fleetwood Mac was a bit sluggish off of her leg aids.

Madden taught Roesler how to use the crop behind her leg to reinforce the leg aid and increase Fleetwood Mac’s sensitivity to the leg, and she instituted a “three-second rule” for her transitions, calling out a new gait then counting aloud to three to encourage Roesler to get a prompt transition. The improvement in Fleetwood Mac’s responsiveness was dramatic, and by the end of her session, Roesler was cantering a small course on him.

Particularly when schooling or hacking solo at home, if you have a sluggish horse, it can be easy to get lazy yourself and give your horse a little extra time to accelerate, or, on the opposite end of the spectrum, a little extra time to decelerate! It never hurts to remember to be crisp and timely in your transitions.

4) Incorporate ground rails into your routine.

Madden incorporated rails on the ground before jumping for each one of the groups. “You can get a lot done with rails on the ground. You want your horse to have a long, healthy career,” she said.

“I have multiple horses in my barn in their 20s, still sound and showing. You do that by saving their legs and not always jumping. You can keep a horse pretty fit over cavaletti, and they’re a great way to work on riders’ skills as well. Cavaletti work prepares you for jumping and gives you the skills to be ready to jump. There are a gazillion things you can do over cavaletti. Get creative with them and figure out what would help you and your horse.”

5) Be thankful for the opportunity that you have to ride in any capacity and enjoy it!

Maybe it was the way they carefully groomed their ponies, brushed out their tails, and showed their mounts how much they appreciated them, or maybe it was the way you could almost see each of them taking in and absorbing everything that Madden said and truly valuing her expertise, but watching the Iron Bridge Hounds Pony Club riders was a valuable reminder of what it looks to really be thankful for this incredible privilege that we have of riding and working with horses.

No matter what your discipline or riding level, I think we can all agree that love and appreciation of the horse is the most important fundamental of all.

BarnManager is designed to be a part of your team, with the compatibility and credentials necessary to improve communication, simplify the management of horses, and get you out of the office, off the phone calls, and into the barn with the horses you care about! Click here to get a free demo and find out more!

Four Things We Learned from Laura Graves’ “Dressage for Jumping” Clinic

At BarnManager, we place a strong emphasis on the importance of ongoing education in order to become better riders and horsemen and women, and when it comes to furthering your dressage education, what’s better than learning from Laura Graves!?

The U.S. Olympic dressage team bronze medalist and 2018 FEI World Cup™ Dressage Final runner-up represents so much of what we at BarnManager believe in and stand for – she’s truly connected with her horses and is so passionate about their care and their well-being. So, it was an absolute privilege to sponsor a “Dressage for Jumping” clinic with Graves on Tuesday, August 14, at the Ohana Equestrian Preserve in Virginia!

The riders of Kama Godek LLC, were awarded the clinic as the winners of the Washington International Horse Show (WIHS) Barn Night video contest, sponsored by BarnManager, and it was open to auditors to attend at no cost. For those not able to be in Virginia on Tuesday, it was also available to watch (and to re-watch here!) on USEF Network. We were in attendance and loved meeting so many great people and learning so much from Graves!

Here are just four of the takeaways that we came home with:

1) Dressage riders and jumpers – we’re not that different.

The “Dressage for Jumping” clinic was the first time that Graves had taught exclusively jumpers, but she herself said, “Whether you’re jumpers, or eventers, or dressage people – everyone struggles with all of the same things.”
What are some of the struggles that we all face? Most notably, according to Graves, getting horses in front of the leg and straight – two of the fundamental flatwork concepts that were emphasized throughout the clinic.

2) You should only work as hard as you want to.

Okay, this doesn’t mean that you should quit your day job and just go watch Netflix because you don’t like working. Instead, what Graves reiterated throughout the clinic was creating a level of responsiveness from your horse that allows you to not exert more effort in the saddle than what you want to be exerting.

As she explained, “If you’re using all of your energy to get a mediocre performance, your odds of getting a better performance are slim to none. You have to get more by doing less.”

Graves started each rider’s one-on-one session by asking, once they had moved into a trot, how hard they were working on a scale of one to 10. Graves joked that she is “lazy” and likes to only work at a one or a two when the horse is trotting.

“The first thing I ask when I get on a horse is, ‘Can I ride 10 of these in a day?’ ” said Graves. “If I can’t ride 10 in a day with breaking very little of a sweat, then for me it’s too much work.”

So, how do you make it so that you’re doing less? You have to make the horse care about what you’re doing and respond to it. If the horse isn’t moving forward in front of the rider’s leg for instance, rather than continually kicking and squeezing and working at an eight or nine on the one to 10 scale, you have to deliver something more.

“If he doesn’t care, you have to say, ‘How far do to I have to take my leg, hand or whip to make him care?’ ” explained Graves. “He has to mind your leg more than he would want. You have to find a place where you can surprise them enough that you make your point.”

By doing this, Graves hopes to create the situation where “if your leg is away, the pressure of the air of your leg coming toward his side should be enough to speed him up again.” This responsiveness allows the rider to only work as much as they want to be working, ideally at a one or a two.

3) It’s okay to make mistakes. You shouldn’t work just to cover them up.

“The main thing that I find holds people back is that we’re afraid of mistakes. Nobody’s more afraid of mistakes than dressage people,” said Graves. That may be true, but as Graves also shared on Tuesday, “horses making mistakes does not mean we’re bad riders,” and it’s extremely important to embrace mistakes rather than working to cover them up.

As an example, Graves had the very first rider of the day, 14-year-old beginning rider Piper Tyrrell, allow her horse to break from the trot down to the walk when Tyrrell took her leg off. Breaking to the walk was a mistake; Tyrrell wanted the horse to keep trotting even with less leg encouraging her forward. However, until Tyrrell let the mistake happen and was able to then correct it, the horse likely would not have been cognizant of the error.

“If you don’t let the mistake happen, he doesn’t even know if he’s doing the right thing or the wrong thing because your leg is always on,” said Graves.

4) Laura Graves is awesome.

We had a good hunch about this one going into Tuesday, but our conversations and the clinic with Graves only confirmed it! We loved her message:

“My number one goal is to make sure that the rider understands something that will hopefully change the way that they ride for the rest of their life. I really try to make sure that I deliver a clear message to every person so they say, ‘I really learned something today.’ ”

From her attitude toward teaching and her desire to truly instill her knowledge in the participating riders to her true passion and love for her horses and the sport, Laura Graves created fans for life in the BarnManager team!

We sat down with Graves to talk about her beginnings in dressage, her typical day at home, and managing the mental aspect of the sport, and we can’t wait to share more!

BarnManager is designed to be a part of your team, with the compatibility and credentials necessary to improve communication, simplify the management of horses, and get you out of the office, off the phone calls, and into the barn with the horses you care about! Click here to get a free demo and find out more!